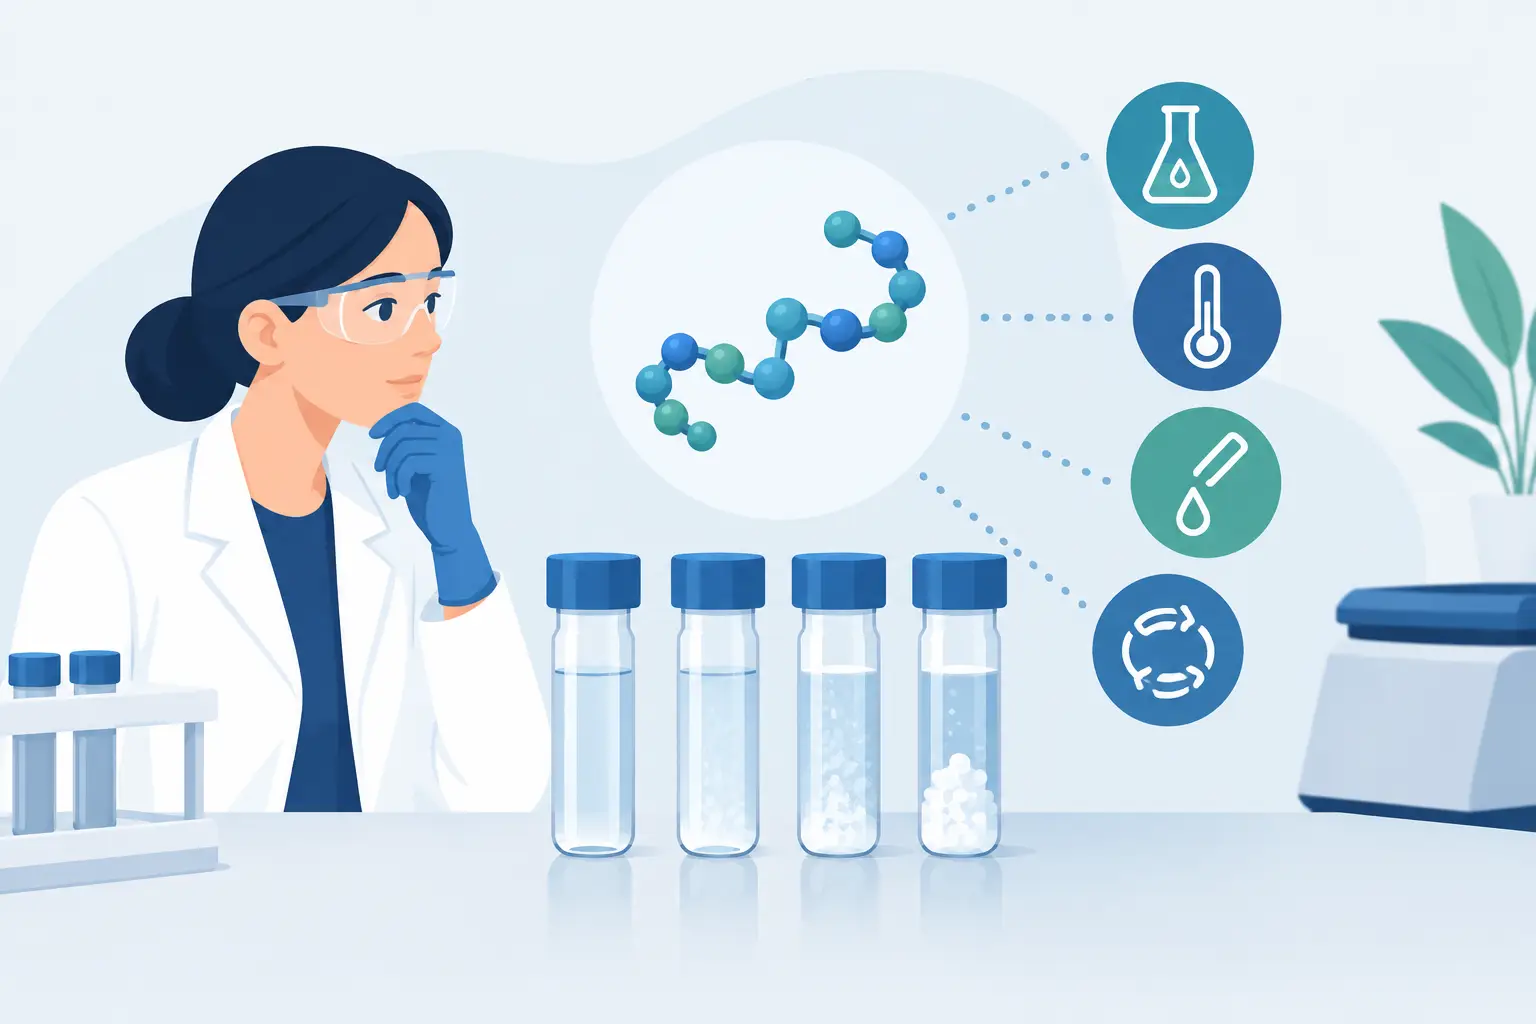
A clear solution is not proof of a successful reconstitution, and visible particles are not always proof of failure. In peptide work, solubility depends on the sequence, counterion, lyophilised cake, solvent system, concentration, temperature and handling history. This peptide solubility troubleshooting guide provides a controlled method for investigating poor dissolution without compromising sample integrity.
The objective is not simply to force material into solution. It is to establish a repeatable, documented preparation method appropriate to the specific research compound and intended experimental conditions.
Before introducing any diluent, review the material record. Confirm the peptide identity, net peptide content, stated salt form or counterion, lot number, storage conditions and analytical documentation. A Certificate of Analysis can confirm identity and purity, but it does not replace solvent compatibility assessment for the working concentration required.
Sequence features provide useful early direction. Peptides with a high proportion of hydrophobic residues may resist aqueous dissolution or aggregate after apparent reconstitution. Highly basic sequences can behave differently from acidic sequences, while cysteine-containing material may require particular attention to oxidation and disulphide state. Longer peptides and sequences with substantial hydrophobic surfaces commonly demand more conservative concentration planning.
Do not treat all lyophilised vials as interchangeable. Two batches of the same peptide should behave comparably when correctly prepared, but a change in counterion, residual moisture, storage exposure or handling can alter the practical starting point. Record the batch before work begins. Every vial should remain traceable throughout the preparation process.
Examine the lyophilised material and the vial condition under normal laboratory lighting. A uniform cake, powder or thin film can all be acceptable presentations depending on fill volume and formulation. Damage to the vial, an incomplete closure, signs of moisture ingress or an unexpected change in appearance should be documented before proceeding.
Allow cold-stored material to equilibrate to room temperature while sealed. Opening a cold vial can introduce condensation, increasing the risk of moisture exposure and inconsistent reconstitution. Once equilibrated, use clean, compatible equipment and minimise unnecessary open-vial time.
If material appears adhered to the stopper or vial wall, do not assume a loss of mass. Gentle handling and an appropriate volume of solvent are usually preferable to aggressive agitation. Mechanical stress can increase foaming and may promote aggregation in susceptible peptides.
A controlled staged approach produces more useful information than repeated solvent changes at full scale. Begin with a small, documented test preparation when material availability permits. This reduces avoidable loss and identifies incompatibility before the entire vial is committed.
Many apparent solubility problems are concentration problems. Calculate the intended concentration before adding solvent, taking account of the stated peptide content rather than assuming the nominal vial mass is entirely active peptide. A concentration that is practical for one sequence may be unsuitable for another.
Where the planned stock is concentrated, consider whether a lower-concentration intermediate stock is more appropriate. This may use more storage volume, but it can reduce aggregation risk and improve repeatability. The correct choice depends on assay requirements, stability information and the number of anticipated freeze-thaw events.
Use the sequence, available supplier guidance and your established laboratory method to choose the starting solvent. Sterile water, bacteriostatic water, buffered aqueous systems, dilute acid or a defined co-solvent system may each be appropriate in different circumstances. There is no universal diluent for research peptides.
Acidic conditions may assist with some basic or hydrophobic sequences; conversely, they may be unsuitable for acid-sensitive work or downstream assays. Organic co-solvents can improve handling of poorly water-soluble material, but they introduce their own constraints, including assay interference, precipitation on dilution and changes in peptide conformation. A solvent that clears a vial is not necessarily compatible with the final experiment.
Use only documented, suitable-grade reagents. The purity of the peptide cannot compensate for contaminated water, an incorrectly prepared buffer or a reagent with unknown storage history.
Direct the solvent gently against the vial wall where practical, rather than forcefully onto the lyophilised cake. Allow time for wetting and dissolution before mixing. Gentle swirling or controlled inversion is generally more appropriate than vigorous shaking.
Avoid unnecessary vortexing, particularly with sequences known to foam or self-associate. If mixing is required, keep the method consistent between preparations and document it. Small handling differences can matter when a peptide sits close to its practical solubility limit.
Observe the preparation against a contrasting background. Persistent fibres, flakes, haze or settled material may indicate incomplete dissolution, aggregation, buffer incompatibility or contamination. However, visual inspection alone cannot establish chemical integrity.
If the solution is clear but performance is inconsistent, do not immediately escalate solvent strength. Review concentration, pH, holding time, temperature and final assay matrix. Some peptides remain clear initially then precipitate after dilution into a salt-containing buffer or after standing at room temperature.
When the first attempt is unsuccessful, alter only one defined parameter: concentration, solvent composition, pH, mixing method or temperature. Changing several factors simultaneously may produce a clear solution, but it prevents a defensible conclusion about what resolved the issue.
Maintain a simple preparation record: peptide and batch, vial mass or stated content, solvent identity, final volume, calculated concentration, temperature, mixing procedure, visible observations and time to dissolution. This is the basis for reproducible future work and meaningful comparison between lots.
A peptide can dissolve and still be unsuitable for the intended application. Aggregation may develop after dilution, during storage or after repeated temperature cycling. Conversely, a small amount of visible material may be an insoluble excipient or a localised residue rather than widespread peptide failure. The distinction often requires an analytical check rather than visual judgement.
Where the project is sensitive to concentration accuracy or structural state, confirm the preparation using an appropriate method within the laboratory workflow. Depending on the question, this may include chromatographic assessment, mass confirmation, UV-based concentration measurement or another validated technique. Match the method to the risk. A routine screening assay may not require the same level of characterisation as a method-development study.
If a preparation remains problematic despite a scientifically appropriate solvent strategy, retain the vial, record the observations and compare against the batch documentation. Independent HPLC and mass-spectrometry verification establish confidence in the supplied material before dispatch, but reconstitution conditions remain part of the researcher’s controlled process.
Successful dissolution is only the first control point. Prepare aliquots where the experimental design allows, using volumes that reduce repeat freeze-thaw exposure. Label each aliquot with peptide identity, batch, solvent system, concentration, date and storage condition. An unlabelled clear tube is not a controlled laboratory sample.
Storage temperature, light exposure, oxygen exposure and solution pH can all affect stability. Some preparations are best used promptly; others can be retained under defined conditions. The appropriate approach depends on the peptide and solvent system, so avoid applying a generic storage period to every compound.
Before using a stored preparation, inspect it again. A change in clarity, colour or visible particulate matter warrants investigation. Do not rely on appearance alone where experimental outcomes carry material weight.
There is a point at which repeated intervention increases uncertainty rather than resolving it. Stop when the required solvent conditions would compromise the intended assay, when visible instability persists after a controlled adjustment, or when the preparation history is no longer sufficiently clear to support confidence in the result.
At that stage, preserve the record and investigate the source systematically: batch documentation, reagent quality, equipment cleanliness, concentration calculations, handling sequence and final matrix compatibility. No shortcuts. No compromises.
The most useful solubility method is the one your laboratory can repeat, verify and defend – from the batch-certified vial to the final experimental preparation.